This post may contain affiliate links. If you use these links to buy something we may earn a small commission. Thanks.
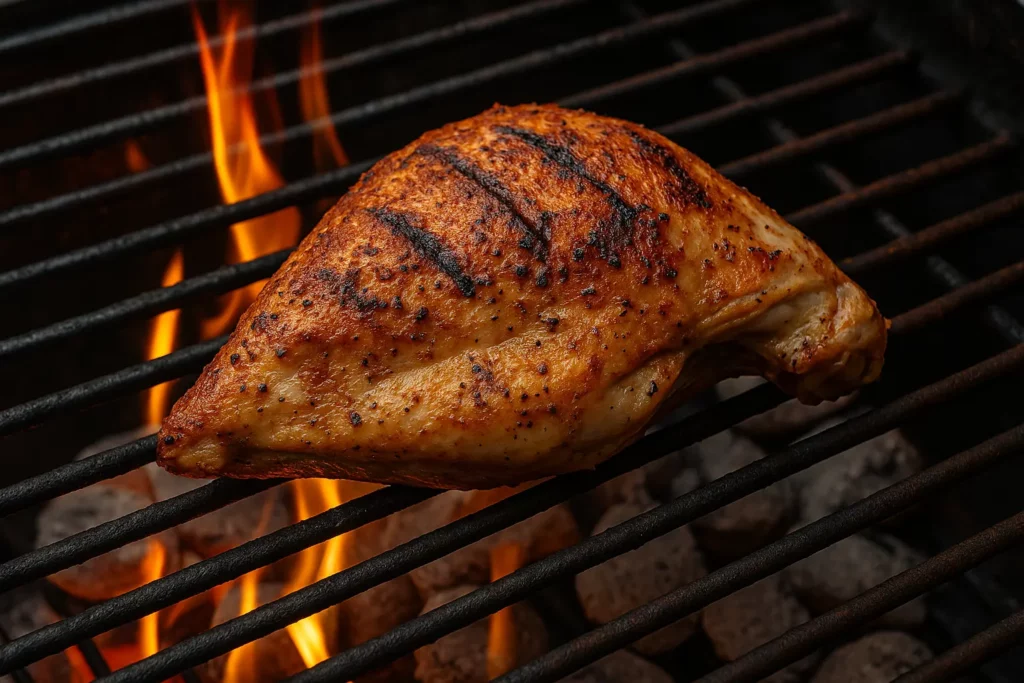
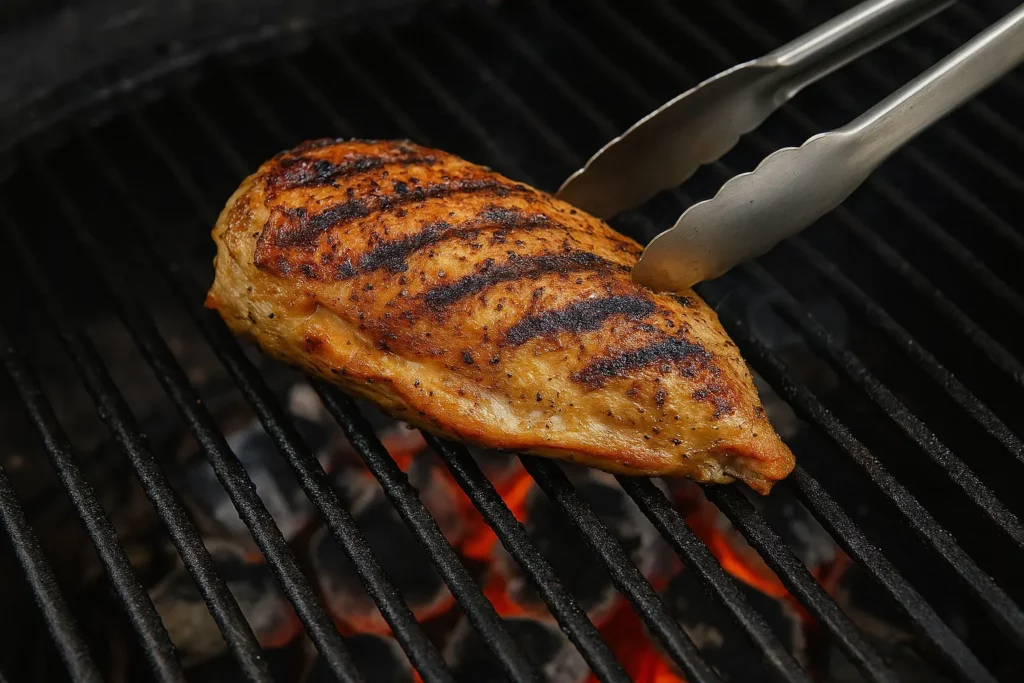
When it comes to grilling chicken, most people go straight for boneless skinless breasts or wings. But if you want juicy, flavorful, and foolproof chicken every time, BBQ split chicken breasts are a game-changer. Bone-in and skin-on, these cuts are often overlooked but ideal for grilling. With the right preparation, technique, and patience, you can master split chicken breast on the grill and never deal with dry chicken again.
This guide will take you through everything you need to know to BBQ split chicken breasts to perfection.
What Is a Split Chicken Breast?
A split chicken breast is a bone-in, skin-on breast that has been separated from the breastbone and backbone, hence the term “split.” These are larger and more flavorful than boneless cuts, with the skin and bone helping to retain moisture during the grilling process.
Why Choose Split Chicken Breasts?
- More Flavor: The bone adds flavor, while the skin crisps up beautifully over the grill.
- Juicier Results: Skin-on meat protects against drying out during longer cook times.
- Cost-Effective: Generally cheaper per pound than boneless, skinless chicken.
Understanding Split Chicken Breasts
Before you get grilling, it’s essential to understand the cut you’re working with.
Bone-In and Skin-On Advantages
- Bone-in chicken cooks slower and more evenly.
- Skin-on protects the meat and crisps up to add texture and flavor.
Look for pieces that are roughly equal in size to ensure even cooking. Most split breasts weigh between 8–12 ounces.

Preparing the Chicken for BBQ
Proper prep is crucial for success on the grill. Here’s how to get your chicken ready.
Trim Excess Fat or Skin
Use kitchen shears or a sharp knife to trim any flaps of excess fat or loose skin. This reduces flare-ups and makes the chicken more uniform.
Pat Dry the Chicken
Use paper towels to pat the skin dry thoroughly. Dry skin equals crispy skin.
Brining (Optional but Recommended)
Brining helps the chicken retain moisture and enhances flavor.
Quick Dry Brine:
- Sprinkle coarse kosher salt generously on both sides.
- Let it rest uncovered in the refrigerator for at least 1 hour or up to overnight.
Simple Wet Brine (4 hours):
- 4 cups water
- 1/4 cup kosher salt
- 1/4 cup sugar
- Optional: garlic cloves, bay leaf, peppercorns
Marinade or Dry Rub?
Both options are great, but choose one—not both—for best results.
Dry Rub Pros:
- Adds a crust and bold flavor
- No excess moisture to fight crispy skin
Marinade Pros:
- Great for infusing herbs, citrus, or spice into the meat
Suggested Dry Rub Recipe:
- 1 tbsp smoked paprika
- 1 tsp garlic powder
- 1 tsp onion powder
- 1 tsp black pepper
- 1 tsp kosher salt
- 1/2 tsp cayenne pepper (optional)
Simple Marinade Recipe:
- 1/4 cup olive oil
- Juice of 1 lemon
- 3 cloves garlic, minced
- 1 tbsp chopped rosemary or thyme
- Salt and pepper to taste
Marinate for 1–2 hours (no more than 4 for bone-in chicken).
Setting Up the Grill
Charcoal Grill Setup
- Create a two-zone fire by banking coals on one side.
- Place a drip pan on the cool side.
- Light the coals and allow them to ash over before cooking.
Gas Grill Setup
- Turn one burner to medium-high and leave the other off.
- You’ll cook the chicken on the cooler, indirect side.
Target Grill Temperature:
Maintain a grill temperature between 325°F and 375°F for optimal slow roasting.
Use a thermometer clipped to the grill grates for accurate readings.

Grilling Split Chicken Breasts: Step-by-Step
Now that your grill is ready and your chicken is prepped, it’s time to cook.
Step 1: Preheat the Grill
Preheat for 10–15 minutes until the temperature stabilizes in the desired range.
Step 2: Place Chicken on Indirect Heat
- Place the chicken skin-side up on the cooler side of the grill.
- Close the lid and let the chicken cook slowly.
Step 3: Monitor Temperature
- Check internal grill temp every 15–20 minutes.
- Keep the lid closed as much as possible to maintain even heat.
Step 4: Flip Once and Finish Over Direct Heat
- After 25–30 minutes, flip the chicken carefully.
- Move to the hot side of the grill, skin-side down, for 2–4 minutes to crisp.
Step 5: Check Internal Temperature
Insert a meat thermometer into the thickest part of the breast (without touching bone). The chicken is done at 165°F.
Estimated Total Cook Time:
- 35 to 45 minutes, depending on thickness and grill heat.
Saucing and Finishing Touches
Want BBQ sauce? Here’s how to do it right.
When to Apply BBQ Sauce
Only apply sauce during the last 5–10 minutes of grilling. This prevents burning due to sugars in the sauce.
How to Apply
- Brush a thin layer of sauce on both sides.
- Flip and reapply as desired to build a glaze.
Delicious Sauce Ideas:
- Classic Sweet BBQ: Molasses, ketchup, vinegar, brown sugar
- Spicy Chipotle: Chipotle in adobo, honey, garlic, lime
- Honey Mustard: Dijon mustard, honey, white wine vinegar
Resting and Serving
Don’t skip this final step!
Rest the Chicken
Transfer the grilled split breasts to a platter and cover loosely with foil. Let them rest for 5–10 minutes to allow juices to redistribute.
Carve and Serve
- Use a sharp knife to separate the breast from the bone.
- Slice crosswise or serve whole for a rustic look.
Great Side Dishes for BBQ Split Chicken:
- Grilled corn on the cob
- Baked beans or cowboy beans
- Tangy coleslaw
- Garlic bread
- Roasted sweet potatoes
- Cucumber salad with yogurt dressing
BBQ Tips and Common Mistakes
Pro Tips
- Always cook over indirect heat for juicy results.
- Keep a spray bottle of water nearby to tame flare-ups.
- Use a digital meat thermometer for accuracy.
Common Mistakes to Avoid
| Mistake | Why It’s a Problem | Solution |
|---|---|---|
| Cooking entirely over direct heat | Leads to burnt skin, raw interior | Start on indirect, finish over direct |
| Not patting skin dry | Results in soggy or rubbery skin | Always dry skin before seasoning |
| Skipping brine or seasoning | Bland meat | Use a rub, marinade, or brine for flavor |
| Cutting immediately after grilling | Loss of juices | Let chicken rest 5–10 minutes |
| Ignoring grill temp | Uneven cooking or burning | Use grill and meat thermometers |
Conclusion
Split chicken breasts are one of the best cuts to BBQ when cooked correctly. With their built-in flavor from the bone, protection from the skin, and rich texture, they’re practically made for the grill. Whether you stick with a simple dry rub or go all in with a sweet-spicy glaze, BBQ split chicken breasts are versatile, affordable, and absolutely delicious.
By following the steps outlined in this guide setting up a two-zone grill, using indirect heat, seasoning properly, and checking internal temperature you’ll ensure tender, juicy chicken every single time.
So grab your grill tools, get those coals burning, and bring bold BBQ flavor to your backyard with split chicken breasts that will leave everyone asking for seconds.
