This post may contain affiliate links. If you use these links to buy something we may earn a small commission. Thanks.
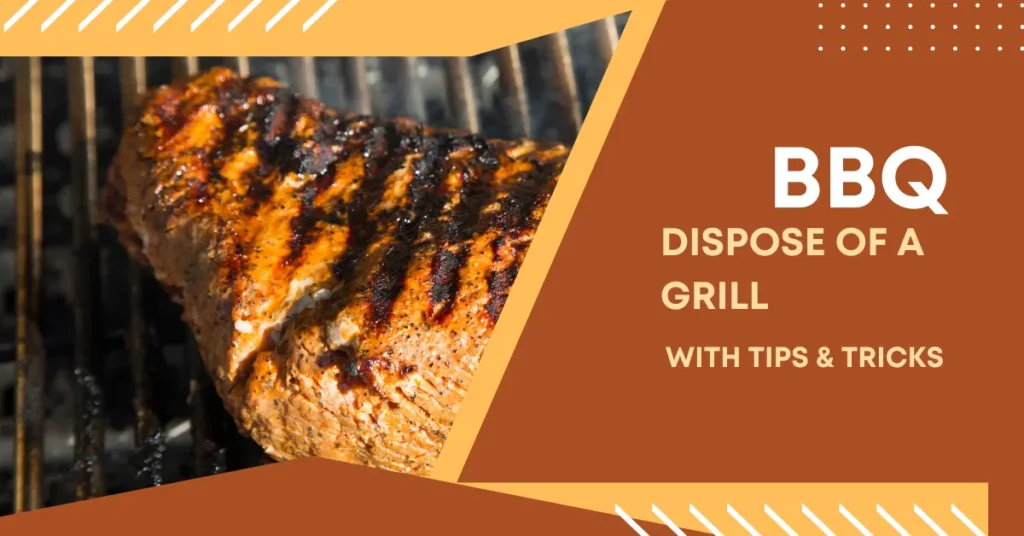
When it comes to grilling, tri-tip is a hidden gem that combines tenderness and rich flavor in a cut of beef. Known for its triangular shape and juicy texture, tri-tip is a favorite among grilling enthusiasts. This guide will walk you through the steps to prepare, grill, and serve a mouthwatering tri-tip on a gas grill. Whether you’re a seasoned griller or a beginner, this method will ensure success every time.
What is Tri-Tip?
Tri-tip is a cut of beef that comes from the bottom sirloin. It’s relatively lean but marbled enough to offer great flavor and tenderness. Its triangular shape makes it stand out, and it’s versatile enough to handle various seasonings and cooking methods. Grilling is one of the best ways to bring out the rich, beefy flavors of tri-tip while achieving a smoky charred crust.
1. Preparing the Tri-Tip
Selecting the Meat
When choosing a tri-tip, look for a cut that weighs around 2-3 pounds. This size is perfect for even cooking on a gas grill. Ensure the meat has good marbling, as this will enhance the flavor and tenderness. Avoid cuts with excessive fat or silver skin, as these can interfere with the cooking process.
Trimming the Fat
Trim the tri-tip to remove excess fat, but leave a thin layer to keep the meat moist during grilling. If there’s silver skin (a tough membrane), use a sharp knife to remove it carefully.
Seasoning the Tri-Tip
- Dry Rub: A simple dry rub works wonders for tri-tip. Combine salt, black pepper, garlic powder, smoked paprika, and a hint of chili powder for a smoky, spicy kick. Rub this mixture generously all over the meat.
- Marinade (Optional): For those who love infused flavors, marinate the tri-tip. Combine soy sauce, olive oil, minced garlic, fresh herbs like rosemary or thyme, and a touch of lemon juice. Let the tri-tip marinate for 4-6 hours in the refrigerator. Remember to pat it dry before grilling.

2. Preparing the Gas Grill
Preheating the Grill
Preheat your gas grill on high heat for 10-15 minutes. This ensures the grates are hot enough to sear the meat effectively.
Setting Up Two-Zone Grilling
Tri-tip benefits from a two-zone grilling setup:
- Direct Heat Zone: For searing and developing a crust.
- Indirect Heat Zone: For slow, even cooking to reach the desired internal temperature.
Turn one side of the burners to high and the other side to low or off. This setup creates a direct heat zone and an indirect heat zone.
Cleaning and Oiling the Grates
Before placing the meat on the grill, clean the grates with a grill brush to remove residue. Then, oil the grates using a paper towel dipped in vegetable oil to prevent sticking.
3. Grilling the Tri-Tip
Searing the Tri-Tip
Start by searing the tri-tip over the direct heat zone. Place the meat directly over the high heat and sear for 3-5 minutes on each side. This process develops a flavorful crust and locks in juices.
Cooking Indirectly
After searing, move the tri-tip to the indirect heat zone. Close the lid and maintain the grill temperature at 375–400°F. This ensures the tri-tip cooks evenly without burning.
Monitoring Internal Temperature
Use a meat thermometer to monitor the internal temperature. The key to perfect tri-tip is pulling it off the grill at the right doneness:
- Rare: 125°F
- Medium Rare: 135°F (most recommended for tri-tip)
- Medium: 145°F
Flipping Occasionally
Flip the tri-tip every 10-15 minutes to ensure even cooking. Keep an eye on the temperature and adjust the heat as needed to avoid overcooking.
4. Resting and Slicing
Resting the Meat
Once the tri-tip reaches the desired internal temperature, remove it from the grill and tent it loosely with aluminum foil. Allow the meat to rest for 10-15 minutes. Resting helps redistribute the juices throughout the meat, resulting in a tender and juicy bite.
Slicing Against the Grain
Tri-tip has two different grain patterns, so proper slicing is crucial. Identify the direction of the grain and slice thinly against it. Cutting against the grain shortens the muscle fibers, ensuring every bite is tender.
5. Serving Suggestions
Classic Accompaniments
- Grilled Vegetables: Bell peppers, zucchini, and asparagus pair beautifully with tri-tip.
- Potatoes: Serve with baked potatoes, roasted baby potatoes, or even creamy mashed potatoes.
- Salads: A fresh garden salad or coleslaw adds a refreshing contrast to the richness of the beef.
Sauces
- Chimichurri: This zesty herb-based sauce complements the smoky flavor of tri-tip.
- Garlic Herb Butter: A dollop of this butter melts perfectly over warm slices.
- BBQ Sauce: For a classic barbecue twist, serve with your favorite BBQ sauce.
Plating Tips
Arrange the slices on a large platter with sides and sauces. Garnish with fresh herbs for a professional touch. This presentation is ideal for family dinners or BBQ parties.
Conclusion
Grilling tri-tip on a gas grill is a straightforward process that yields impressive results. With the right preparation, seasoning, and grilling technique, you can create a meal that’s juicy, flavorful, and sure to impress. Experiment with different rubs, marinades, and sides to make it your own. Fire up your grill and enjoy the delicious rewards of mastering tri-tip!
