This post may contain affiliate links. If you use these links to buy something we may earn a small commission. Thanks.
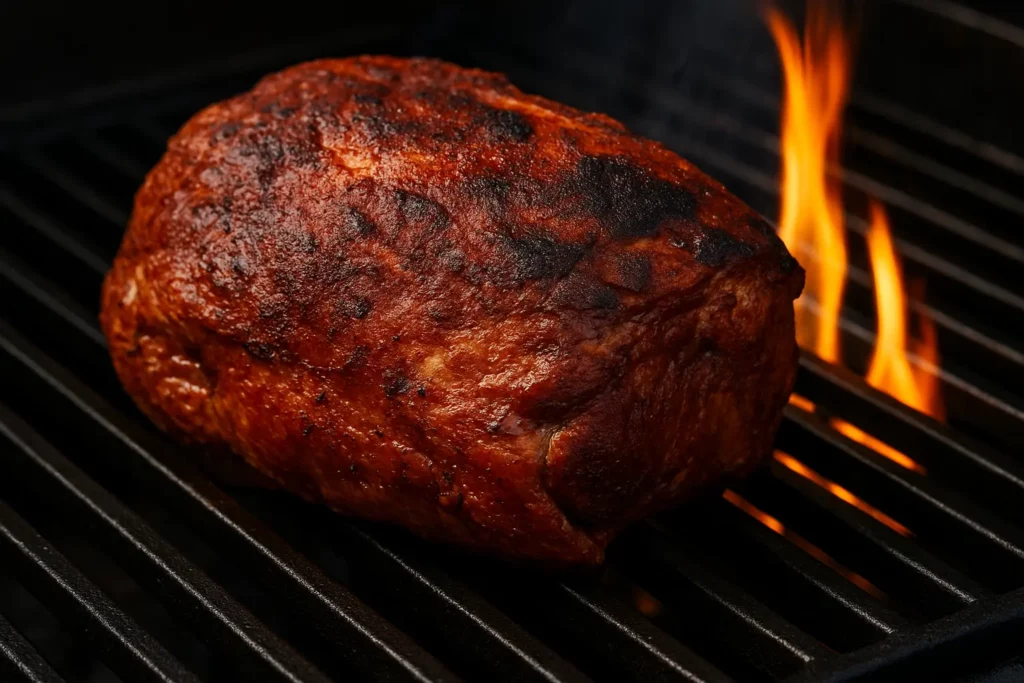
If you’re craving smoky, tender pulled pork but don’t have a smoker, your gas grill can be a game-changer. With the right techniques, you can transform a humble pork shoulder into a barbecue masterpiece all without investing in extra equipment. In this guide, we’ll walk you through exactly how to cook a pork shoulder on a gas grill using indirect heat, patience, and a whole lot of flavor.
Pork shoulder, also known as Boston butt or pork butt (despite its misleading name), is a flavorful and fatty cut of meat that’s perfect for slow cooking. Traditionally prepared in smokers, it’s a staple of Southern barbecue and backyard gatherings alike.
But did you know you can recreate that delicious, fall-apart texture and smoky taste using your regular gas grill? Whether you’re a weekend warrior or a grilling novice, learning how to master pork shoulder on the grill is a rewarding skill that pays off in mouthwatering meals.
Understanding Pork Shoulder
Before diving into preparation and grilling, it’s essential to understand the cut you’re working with. Pork shoulder comes from the upper part of the front leg of the pig and is marbled with fat and connective tissue perfect for long, slow cooking.

Pork Shoulder vs. Pork Butt
Often used interchangeably, pork shoulder and pork butt are slightly different. Pork butt (Boston butt) is cut from the thicker section above the shoulder blade, while the shoulder (also called picnic shoulder) is a bit leaner and includes more muscle.
Bone-in vs. Boneless
Both options work well. Bone-in pork shoulder tends to be more flavorful and juicy, while boneless is easier to handle and cooks a bit faster. A 6-8 lb. pork shoulder is ideal for most gas grills and serves a crowd.
Tools and Equipment Needed
To ensure a smooth grilling process, gather these tools:
- Gas Grill: Preferably with at least two burners for indirect cooking.
- Meat Thermometer: An instant-read thermometer and/or a wireless meat probe helps monitor internal temperatures.
- Drip Pan: Catches fat and prevents flare-ups.
- Aluminum Foil: Essential for wrapping the meat during the cooking process.
- Heat-Resistant Gloves: For handling hot foil and moving the meat.
- Smoker Box or Foil Pouch (Optional): Adds smoky flavor using wood chips.
Preparing the Pork Shoulder
Step 1: Trim the Fat
Start by trimming excess fat from the pork shoulder, leaving a thin layer (about 1/4 inch) to help baste the meat during cooking. Remove any silver skin or hard, rubbery fat.
Step 2: Apply the Dry Rub
A flavorful rub is the secret to a crusty bark and tasty meat.
Simple Dry Rub Recipe:
- 1/4 cup brown sugar
- 2 tablespoons smoked paprika
- 1 tablespoon kosher salt
- 1 tablespoon black pepper
- 1 tablespoon garlic powder
- 1 tablespoon onion powder
- 1 teaspoon cayenne (optional for heat)
Rub the mixture thoroughly over the entire surface of the pork. For best results, apply the rub the night before and refrigerate it uncovered. If you’re short on time, let it sit for at least 1 hour at room temperature before grilling.
Optional Step: Injecting for Moisture
Use a marinade injector to infuse flavor deep into the meat. A simple injection could be:
- 1 cup apple juice
- 1 tablespoon Worcestershire sauce
- 1 tablespoon melted butter
- 1 teaspoon salt
Inject evenly across the pork shoulder before applying the rub.
Setting Up the Gas Grill for Indirect Cooking
Pork shoulder needs to be cooked “low and slow,” which is achieved by indirect heat.
Step-by-Step Setup:
- Preheat the Grill: Aim for a consistent temperature of 250–275°F.
- Turn Off One Side of the Burners: Leave one or two burners on (depending on grill size), and place the pork shoulder on the unlit side.
- Place a Drip Pan: Under the meat on the cooler side to catch drippings and stabilize heat.
- Add Wood Chips (Optional): Soak chips in water for 30 minutes, then place them in a smoker box or foil pouch with holes and set it over the lit burners.
This setup turns your gas grill into a makeshift smoker.
Cooking the Pork Shoulder on the Gas Grill
Now comes the fun part—grilling!
Placement
Put the pork shoulder over the indirect heat zone (unlit burners) with the fat cap facing up. This allows fat to render down and keep the meat moist.
Cook Time
Plan for approximately 1.5 to 2 hours per pound. For a 6-pound shoulder, expect 9–12 hours.
Spritzing or Mopping
Every 60–90 minutes, spritz the shoulder with a mixture of:
- 1/2 cup apple cider vinegar
- 1/2 cup apple juice
This adds flavor and keeps the meat from drying out.
The Stall and the Wrap
At around 160–165°F internal temperature, the meat may stall as moisture evaporates. To push through this plateau, wrap the pork shoulder tightly in heavy-duty foil or butcher paper.
Finishing Temperature
Continue cooking until the internal temperature reaches 195–205°F. This range ensures the connective tissue has broken down and the meat is shredsable.

Resting and Shredding the Pork
Once the desired temp is reached, remove the shoulder from the grill and let it rest—still wrapped—in a cooler or on the counter for at least 30–60 minutes. Resting allows juices to redistribute and fibers to relax.
Shredding the Meat
After resting:
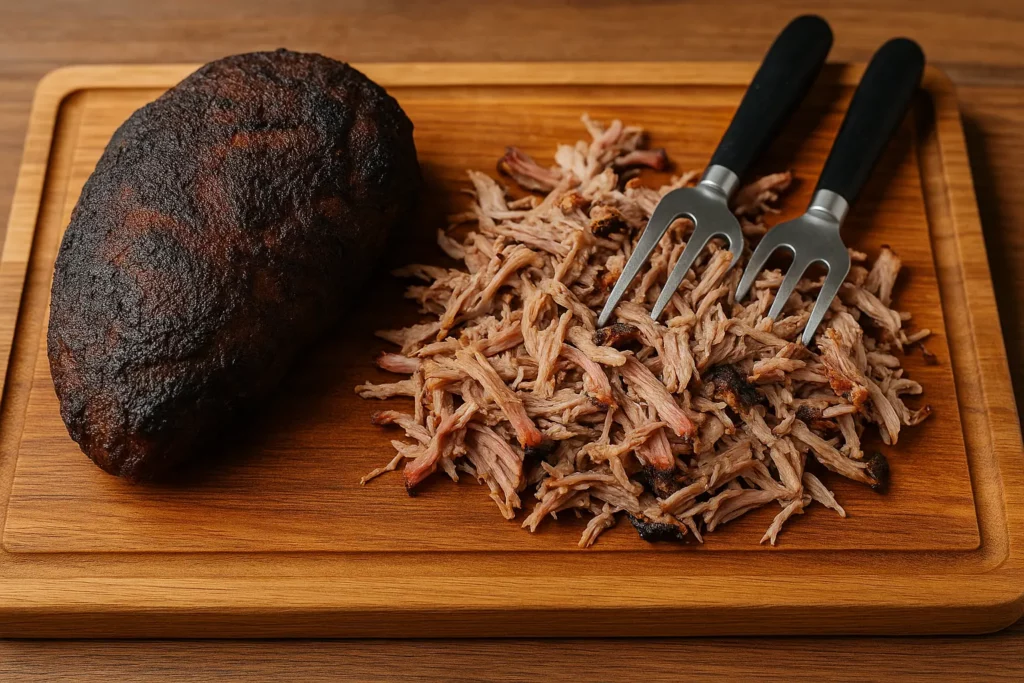
- Unwrap the foil and remove the bone (if present—it should slide right out).
- Use forks, meat claws, or gloved hands to pull the pork into tender strands.
- Discard any excess fat, gristle, or unrendered tissue.
Serving Suggestions
Now that you’ve got juicy, smoky pulled pork, here’s how to enjoy it:
Sandwiches
Pile onto toasted buns with:
- Classic BBQ sauce
- Creamy coleslaw
- Pickles or onions
Tacos
Serve in soft corn tortillas with:
- Avocado
- Fresh salsa
- Lime wedges
Loaded Nachos
Layer pulled pork over tortilla chips with:
- Melted cheese
- Jalapeños
- Sour cream
Sliders and More
Pulled pork also makes amazing sliders, pizza toppings, or even breakfast hash.
Sides to Serve
- Mac and cheese
- Potato salad
- Cornbread
- Grilled veggies
- Baked beans
Cleanup Tips
Don’t forget to clean up after your barbecue success.
Drip Tray
Carefully remove and discard any drippings from the foil tray. Let it cool before handling.
Grates
Brush grill grates while warm using a grill brush or scraper to remove any stuck-on food particles.
Interior
Check burner covers and interior walls for grease buildup and wipe them down with warm, soapy water if needed.
Tips for Success and Common Mistakes to Avoid
Even with a gas grill, achieving great BBQ flavor is possible if you follow these tips:
Tips:
- Keep the lid closed: Each time you open it, heat escapes.
- Monitor temperature: Use a wireless probe to track meat and grill temps.
- Use a water pan: It helps regulate temperature and retain moisture.
Common Mistakes to Avoid:
- Grilling too hot: High heat will dry out or burn the pork.
- Skipping the rest: Without resting, juices run out, and meat is dry.
- Over-smoking: Too many wood chips can make the flavor bitter.
- Not planning enough time: Pork shoulder takes hours, so start early.
Conclusion
Cooking a pork shoulder on a gas grill is more than just a cooking project—it’s a journey of patience, technique, and flavor. From selecting the right cut to mastering indirect heat and wrapping during the stall, every step brings you closer to a perfectly tender, juicy masterpiece.
Whether you’re prepping for a backyard party or just want to level up your grilling game, pork shoulder is a surefire way to impress your guests—and yourself. So fire up that gas grill, follow this guide, and enjoy every savory bite of your homemade pulled pork.
