This post may contain affiliate links. If you use these links to buy something we may earn a small commission. Thanks.
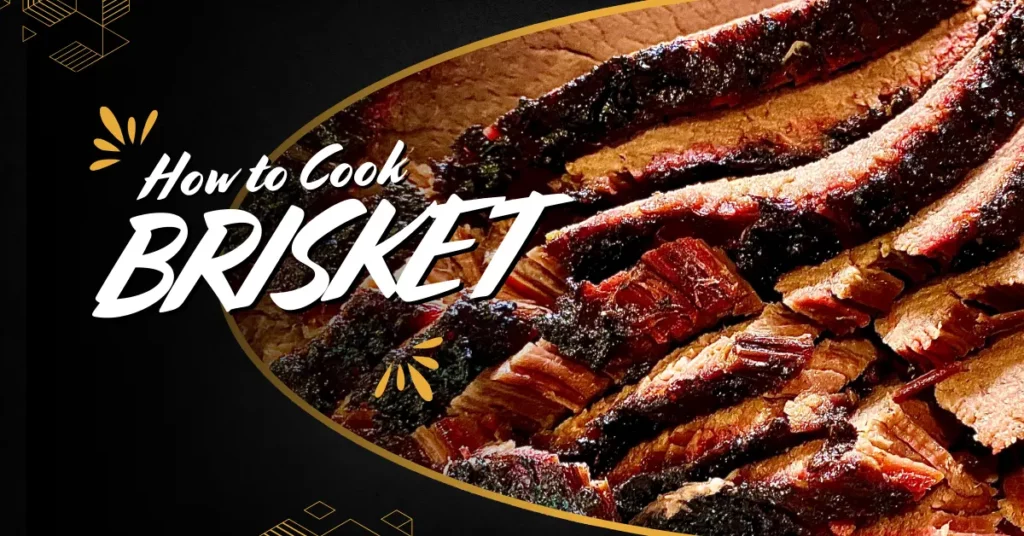
Brisket is a beloved cut of beef that’s revered for its rich, smoky flavor and tender texture when cooked properly. While it’s most commonly associated with barbecue smokers, grilling brisket can yield equally impressive results if done correctly. Cooking brisket on a grill requires time, patience, and attention to detail, but the payoff is a mouthwatering centerpiece for any gathering. By carefully selecting your meat, preparing it properly, and managing your grill’s temperature, you can achieve a perfectly tender and flavorful brisket. This guide will walk you through every step to ensure your grilled brisket is a success.
Choosing the Right Brisket
The first step to a great brisket is selecting the right cut. Brisket comes from the lower chest of the cow and consists of two primary sections:
- Flat Cut: This is the leaner portion, ideal for uniform slicing. It’s the most commonly found cut in grocery stores and works well for beginners due to its consistent thickness.
- Point Cut: This section is fattier and more marbled, which means it’s more flavorful but less uniform in shape. It’s great for shredded or pulled brisket recipes.
For grilling, the flat cut is often preferred due to its consistent thickness, which makes it easier to cook evenly. Look for a brisket with good marbling—small streaks of fat within the meat—as this enhances flavor and tenderness. A fat cap (a layer of fat on one side of the brisket) about ¼ inch thick is ideal for adding moisture during cooking. A brisket weighing 8–12 pounds is ideal for most standard grills.

Preparing the Brisket
Proper preparation is key to a successful brisket. This involves trimming, seasoning, and optionally marinating the meat to enhance its flavor.
- Trimming:
- Use a sharp knife to trim excess fat, leaving a thin layer (around ¼ inch) on top to help keep the meat moist during cooking. Thick layers of fat won’t render fully during cooking and can leave a greasy texture.
- Remove any silver skin (the thin, tough membrane) from the underside of the brisket. This membrane doesn’t break down during cooking and can hinder flavor absorption.
- Seasoning:
- A classic dry rub consists of kosher salt, coarse black pepper, paprika, garlic powder, onion powder, and optional cayenne for heat. For a sweeter profile, add brown sugar.
- Apply the rub generously to all sides of the brisket, ensuring even coverage. Press the rub into the meat rather than simply sprinkling it, as this helps the seasoning adhere.
- For deeper flavor, let the brisket rest in the refrigerator for 12–24 hours after seasoning, allowing the spices to penetrate the meat.
- Optional Marinating:
- Marinating brisket can add extra layers of flavor and moisture. A simple marinade might include beef broth, soy sauce, Worcestershire sauce, garlic, and herbs. Submerge the brisket fully or use a resealable bag.
- Marinate for at least 4–6 hours, or overnight for the best results. Pat the brisket dry before applying the rub to ensure a good crust forms during cooking.

Setting Up the Grill
The key to cooking brisket on the grill is maintaining low, indirect heat. This ensures the meat cooks slowly, allowing the connective tissues to break down for tenderness. Here’s how to prepare your grill:
- Charcoal Grill:
- Create a two-zone fire by placing hot coals on one side of the grill and leaving the other side empty for indirect cooking. The brisket will cook on the cooler side.
- Add soaked wood chips (such as hickory, oak, or mesquite) to the coals for a smoky flavor. Soak the chips in water for 30 minutes to prevent them from burning too quickly.
- Place a drip pan filled with water beneath the brisket to catch drippings and help regulate grill temperature.
- Gas Grill:
- Turn on only one or two burners to create an indirect heat zone, leaving the other burners off.
- Use a smoker box or aluminum foil pouch filled with wood chips for smoke. Poke holes in the foil to allow the smoke to escape.
- Temperature Control:
- Maintain a consistent temperature of 225–250°F throughout the cooking process. Use a grill thermometer to monitor the heat, as the built-in thermometer may not accurately reflect the cooking area’s temperature.
- Keep the grill lid closed as much as possible to retain heat and smoke.
Cooking the Brisket
Once your grill is ready, it’s time to cook the brisket. The process requires patience and careful monitoring.
- Placement:
- Place the brisket on the grill, fat-side up, in the indirect heat zone. Cooking fat-side up allows the melting fat to baste the meat as it cooks, enhancing flavor and moisture.
- Spritzing:
- Every 60–90 minutes, spritz the brisket with a mixture of apple cider vinegar and water (or apple juice for added sweetness). This helps maintain moisture and prevents the bark (outer crust) from becoming too dry.
- Temperature Monitoring:
- Insert a meat thermometer into the thickest part of the brisket to track the internal temperature. Avoid touching bone or fat for accurate readings. The goal is to reach 165°F during the first stage of cooking.
The Smoking and Cooking Process
Cooking brisket is a marathon, not a sprint. Here’s what to expect and how to handle challenges:
- The Stall:
- Around 150–160°F, the brisket’s internal temperature may plateau. This is known as the “stall,” caused by evaporative cooling as moisture escapes from the meat.
- To overcome the stall, wrap the brisket tightly in aluminum foil or butcher paper (the “Texas crutch”). This traps moisture and heat, allowing the temperature to rise steadily.
- Final Temperature:
- Continue cooking until the internal temperature reaches 195–205°F. This range ensures the connective tissues have fully broken down, resulting in tender meat.
- Test for doneness by inserting a probe into the brisket. It should slide in with little to no resistance, like butter.
Resting the Brisket
Resting the brisket is crucial for retaining juices and ensuring maximum tenderness:
- Wrap and Rest:
- Leave the brisket wrapped in foil or butcher paper and place it in a cooler or warm oven for 30–60 minutes. This keeps the meat warm while it rests.
- Why Resting Matters:
- Resting allows the juices to redistribute throughout the meat. Cutting into the brisket too soon can cause the juices to escape, leaving it dry.
Slicing and Serving
After resting, it’s time to slice and serve your masterpiece:
- Slicing:
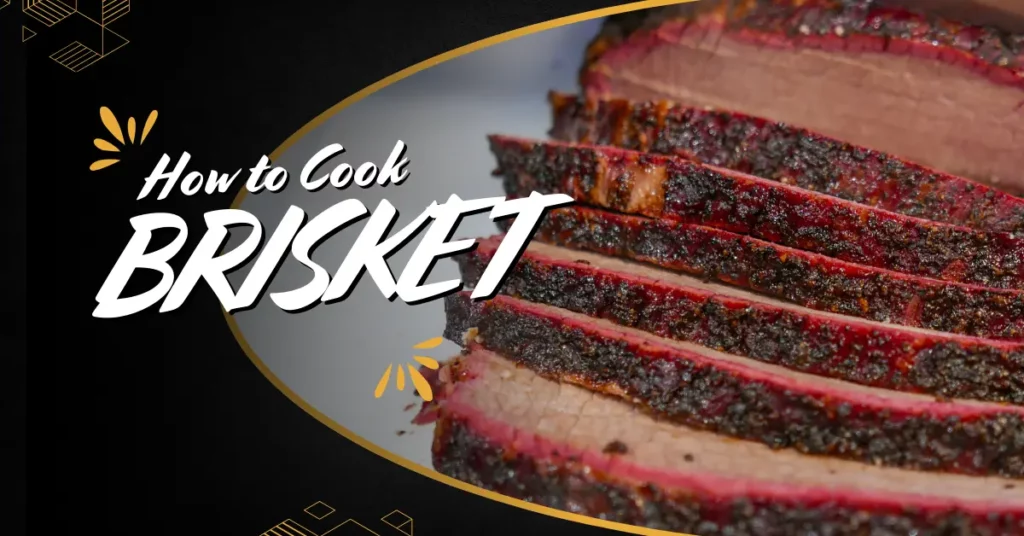
- Identify the grain (direction of the muscle fibers) and slice perpendicular to it. Cutting against the grain shortens the fibers, making each bite tender.
- Use a sharp carving knife for clean, even slices. For the point cut, you may need to rotate the brisket slightly as the grain direction changes.
- Serving Suggestions:
- Serve with classic barbecue sides like coleslaw, baked beans, cornbread, or potato salad. Provide BBQ sauce on the side to let guests customize their flavor.
- Garnish with fresh parsley or chives for a professional presentation.
Troubleshooting Common Issues
Even with the best preparation, challenges can arise. Here are some solutions:
- Dry Brisket:
- Wrap it in foil with beef broth or melted butter and return it to the grill or oven at a low temperature for 30 minutes to restore moisture.
- Undercooked Brisket:
- Return it to the grill and cook until the internal temperature reaches 195–205°F. Be patient and maintain consistent heat.
- Overcooked Brisket:
- Chop or shred the meat and mix it with BBQ sauce for sliders or tacos to mask dryness.
Conclusion
Cooking brisket on the grill is a rewarding experience that combines skill, patience, and passion. By carefully selecting your brisket, mastering preparation techniques, and monitoring the cooking process, you can achieve a tender, flavorful result that’s sure to impress. Don’t be afraid to experiment with rubs, marinades, and wood chips to create your signature style. Happy grilling, and may your brisket always be juicy and delicious.
